


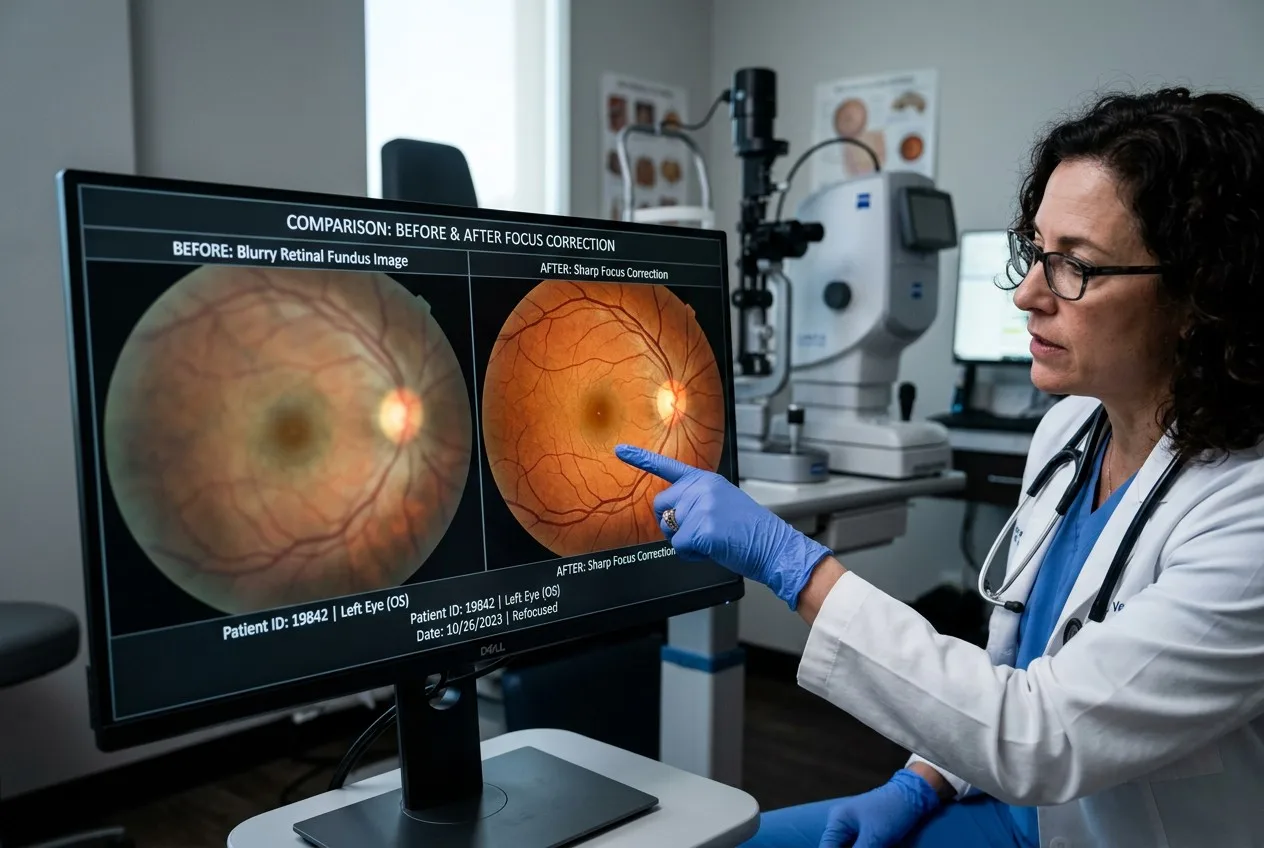
Are your fundus photos looking like they were taken underwater? Blurry images are a nightmare for diagnosis. You cannot see the fine details of the macula or the optic nerve. It wastes your time and forces the patient to return for more testing.
Fundus camera images are blurry because of small pupil size, patient cataracts, or smudges on the objective lens. Incorrect focus settings and outdated firmware can also cause poor image clarity. You can fix this by ensuring proper mydriasis and cleaning the optics.
I know the pressure of a busy clinic. You need clear images on the first try. At Hongdee, we design our fundus cameras to be user-friendly, but even the best camera needs a good operator. We are committed to helping you get the best possible data for your patients.
In this guide, I will break down every reason for blur. We will look at the patient’s eye and the camera’s lens. I will give you a step-by-step checklist to sharpen your images today. Let’s get your clinic back to producing crystal-clear diagnostics.
What Are the Main Causes of Blurry Fundus Camera Images?
Blur is not always a focus issue. It can be a “signal” issue. If not enough light gets in, the camera struggles to see. If too much light scatters, the image looks washed out.
The main causes of blurry images are inadequate pupil dilation, patient blinking, and oil on the objective lens. Cataracts and vitreous opacities in the patient’s eye also scatter light, leading to a loss of detail in the final photograph.

The Mydriasis Factor
The pupil is the window to the retina. If the window is too small, the camera cannot “see” around the edges. Most non-mydriatic cameras need at least a 3.3mm pupil. If the patient is in a bright room, their pupil will shrink.
I always suggest a dark room for fundus photography. Even if the camera is “non-mydriatic,” a larger pupil always gives a better result. If the patient has naturally small pupils (miosis), you might need to use dilating drops. This is a common bottleneck I see in many clinics.
Media Opacities
Sometimes the blur is inside the patient. Cataracts act like a foggy window. The light has to pass through the cataract twice—once on the way in and once on the way out. This doubles the blur.
You should also look for vitreous floaters. A large floater can sit right in front of the macula. It looks like a dark smudge on the image. I coach my patients to look at the fixation target to move floaters out of the way. It is a simple trick that saves many photos.
Objective Lens Smudges
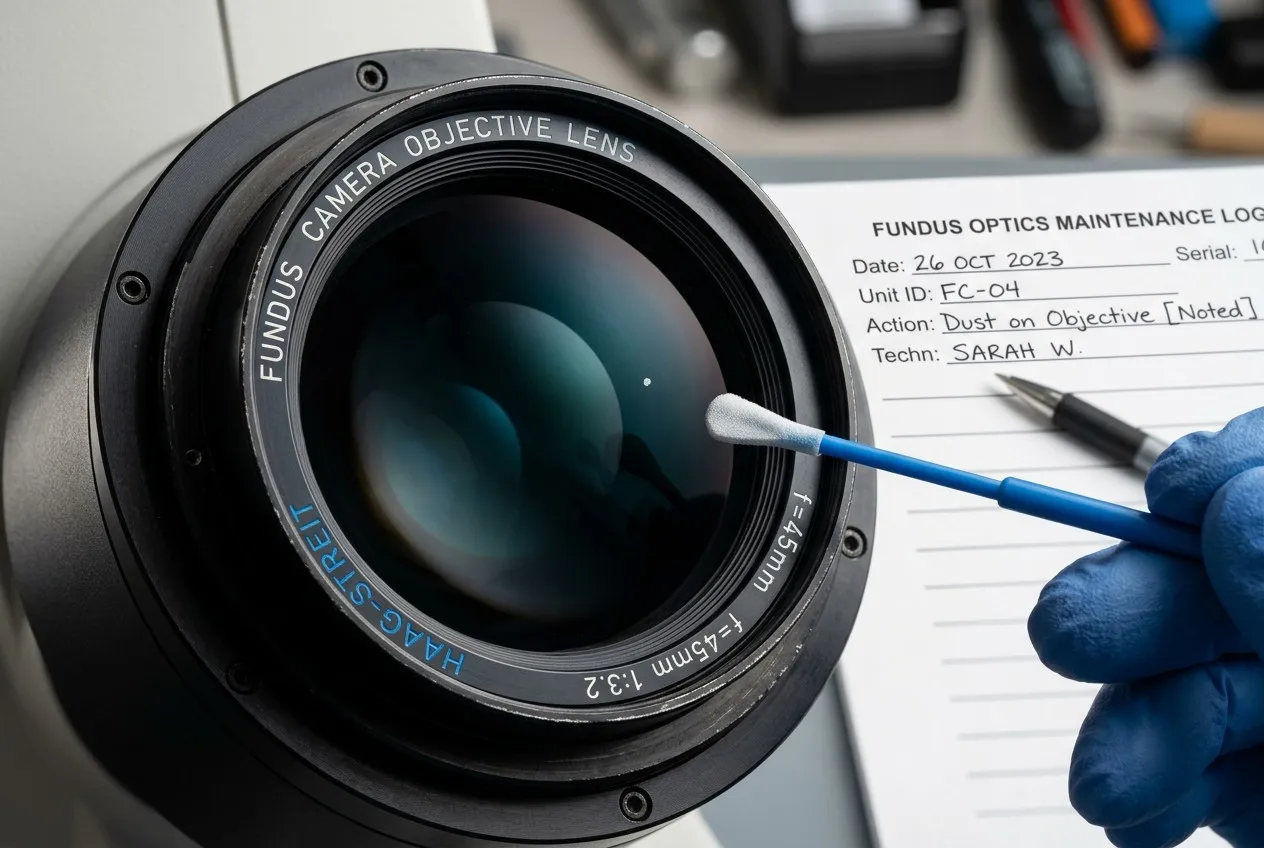
The objective lens is the big one at the front. Patients often accidentally touch it with their forehead or nose. Skin oils are very thick. They scatter light and create a “glow” around the optic nerve.
I have seen doctors try to focus “through” a smudge. It never works. You might get a sharp focus, but the contrast will be terrible. I check the lens with a penlight before every single patient. It only takes two seconds.
Is the Problem My Patient, My Focus Technique, or the Camera Itself?
You need to know where to point the finger. Is the machine broken, or are you just having a bad day? I use a process of elimination to find the culprit. It keeps me from getting frustrated with the equipment.
Distinguish the cause by checking for “uniform” vs. “localized” blur. Uniform blur across the whole image usually indicates a lens smudge or camera vibration. Localized blur often points to patient pathology or poor fixation technique.
Evaluating the Patient
If you get a clear image on one patient and a blurry one on the next, the camera is fine. The variable is the patient. Are they steady? Are they breathing heavily? Even small tremors can cause motion blur.
I tell my patients to “hold your breath for a second” right before I click the shutter. This freezes the motion of the head. I also use the forehead strap to lock them in place. A stable patient is the key to a sharp fundus photo.
Reviewing Your Technique
Are you using the “Split-Line” focus tool? Most fundus cameras have two lines that must be aligned. If you are just “eyeballing” the focus on the screen, you will be off. The screen resolution is often lower than the final photo resolution.
I also see people standing too far away. Each camera has a “working distance.” If you are 1mm too far or too close, you will get a reflection or a blur. Use the alignment dots on the screen. They are there for a reason. We at Hongdee provide extensive training videos on this exact topic.
Testing the Camera
If every patient is blurry, even the young ones with clear lenses, then look at the camera. Is the internal flash firing correctly? If the flash is weak, the camera uses a longer exposure. A longer exposure means more motion blur.
Check the sensor too. Digital sensors can get “hot pixels” or dust on them. This looks like permanent spots on every photo. We can diagnose this remotely. Just send us a few sample images. Our 24-hour video tech support is designed for this exact situation.
| Source of Blur | Type of Blur | How to Verify | Fix |
|---|---|---|---|
| Lens Smudge | Hazy, low contrast | Inspect with penlight | Clean with alcohol & tissue |
| Small Pupil | Dark edges, fuzzy center | Check pupil size in room light | Dim lights or use drops |
| Motion | Streaky or doubled lines | Ask patient to hold breath | Use chin rest and head strap |
| Wrong Focus | Soft edges, no fine detail | Use split-line focus aid | Re-align and re-focus |
| Cataract | Cloud-like obscuration | Look at the red reflex | Note in patient record |
How Do I Systematically Troubleshoot Blurry Images Step by Step?
When things go wrong, do not panic. Follow a system. I have a 5-step checklist that I keep taped to the side of my camera. It keeps the staff calm and ensures we don’t miss the obvious.
Systematically troubleshoot by first cleaning the objective lens, then adjusting room lighting to maximize pupil size. Next, verify the working distance and use the focus aids. Finally, check for software updates or firmware issues that might affect image processing.
Step 1: The “Pure” Lens
Start with the glass. Use a fresh lens tissue. I have seen people reuse tissues to save money. That is a bad idea. A used tissue just moves the oil around. Use a new one every time you see a smudge.
Step 2: Environmental Control
Kill the lights. I mean all of them. The darker the room, the better the pupil. If you have a window in the room, get blackout curtains. Ambient light is the enemy of the fundus camera. It creates internal reflections that look like blur.
Step 3: The Alignment Dance
Move the camera in and out. Watch how the reflections change. There is a “sweet spot” where the image is clearest. I call it the alignment dance. Once you find it, hold the joystick firmly. Do not let the camera drift.
Step 4: Digital Verification
Look at your capture settings. Is the “Gain” too high? High gain creates digital noise that looks like grain or blur. Is the resolution set to “High”? Sometimes a software update resets these to default. I check these settings once a month.
Step 5: Remote Assistance
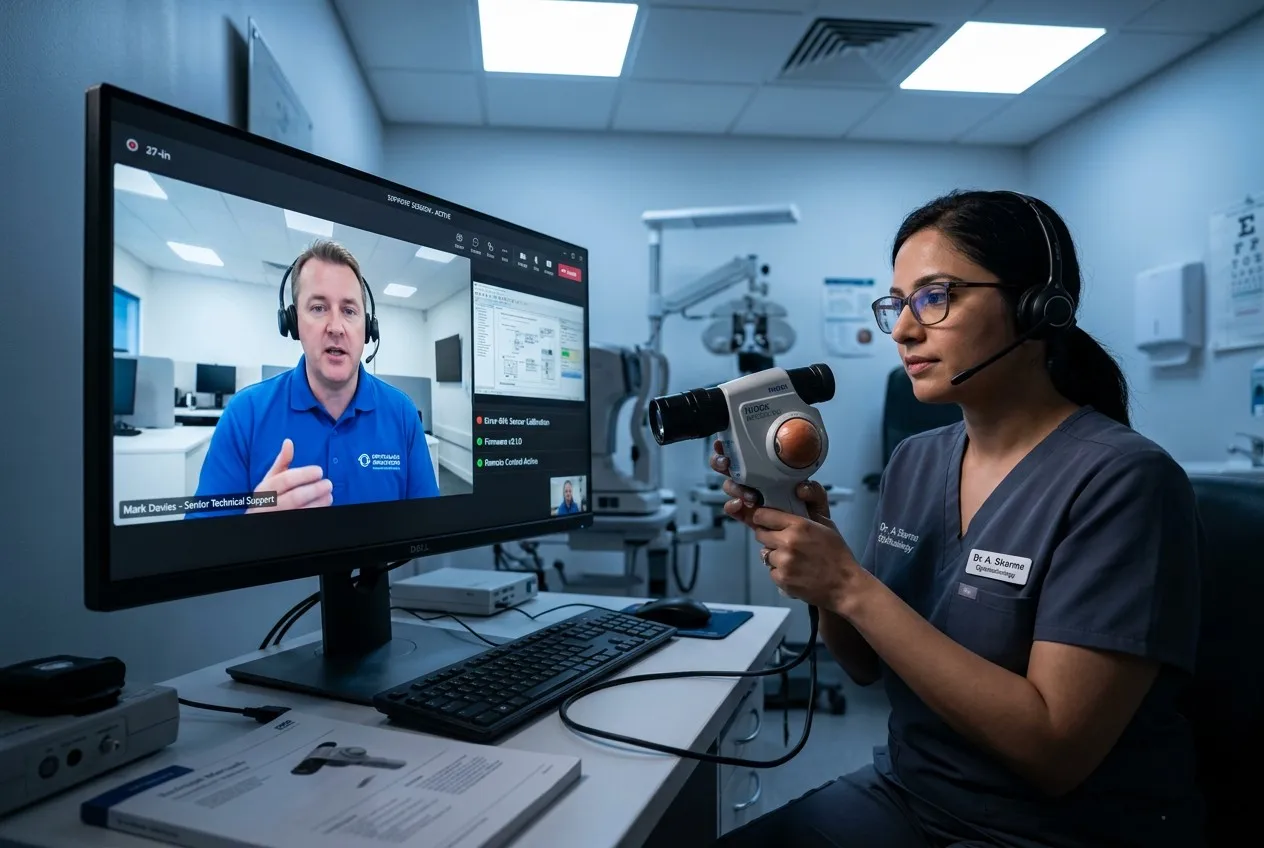
If you have done all four and it is still blurry, call us. We offer 24-hour video technical support. I have helped doctors fix “blurry” images in 5 minutes by just changing a software setting. You are never alone with Hongdee equipment.
How Do I Clean the Fundus Camera Optics Safely?
The objective lens of a fundus camera is extremely expensive. It has special coatings to reduce flare. If you scratch it, you cannot just “buff it out.” You have to replace the whole lens.
Clean the optics safely by using a manual air blower first, then a high-quality lens cleaning solution with a microfiber cloth. Use gentle, circular motions from the center to the edge. Never apply pressure and never spray fluid directly onto the lens.
The “No-Touch” First Rule
Always blow before you wipe. If there is a piece of sand or grit on the lens, wiping it will scratch the glass. The air blower removes the hard particles. This is the most important step that most people skip.
I use a large “Rocket” blower. It gives a strong puff of air. I do this every morning before the first patient arrives. It keeps the dust from building up in the first place. Prevention is better than a risky cleaning.
Choosing the Right Fluid
Do not use tap water. It has minerals that leave spots. Do not use spit. It has enzymes that can eat the coating. Use 90% or higher isopropyl alcohol or a professional optical cleaner.
We recommend a specific brand of lens tissues that are lint-free. Many cheap tissues leave tiny fibers behind. These fibers show up as white streaks on your fundus photos. It is worth spending an extra $10 a year for the right supplies.
The “CEO Direct” Support
If you are nervous about cleaning an internal mirror, stop. Call our CEO. He actually takes these calls. We want to make sure you don’t break something while trying to help. We have 15 years of history and we know every screw in that machine.
We believe in a long-term partnership. If you need a specific cleaning kit, we will send it to you. We want your Hongdee camera to last for decades. Our 5-year parts supply guarantee means you don’t have to worry about an older unit becoming a paperweight.
When Should I Consider Upgrading vs Repairing?
Everything has a lifespan. A fundus camera from 2005 is not the same as a camera from 2025. Sometimes, the “blur” is just the limit of the old technology. I help my clients decide if it is time to move on.
Consider an upgrade if your current camera cannot capture through small pupils or if it lacks modern digital integration. Repair is best for modern units with simple mechanical or optical issues. If parts are unavailable for your old brand, a Hongdee replacement is the most cost-effective path.
The Megapixel Myth
It is not just about megapixels. It is about the sensor’s sensitivity. Older sensors need a huge flash of light. This makes the patient blink and gives a blurry photo. New Hongdee cameras use low-light sensors that are much more “patient-friendly.”
If your patients are constantly complaining about the “bright flash,” it is time to upgrade. You will get better photos because the patient is more comfortable. A comfortable patient is a still patient.
Software and Connectivity
Does your camera talk to your EMR? If you are still using USB sticks to move photos, you are wasting time. Modern cameras have DICOM and Wi-Fi built-in. This integration reduces errors and speeds up your workflow.
I tell my customers that a new camera pays for itself in “saved clicks.” If you save 5 minutes of data entry per patient, and you see 10 fundus patients a day, that is nearly an hour saved every day. What is an hour of your time worth?
The Hongdee Advantage
Why choose Hongdee for your upgrade? Because we offer what the big brands don’t: direct access and free service. Who repairs the machine? We do, with your local tech. Who pays for the parts? We do, for five years.
We are a manufacturer, not just a middleman. We have the ISO 13485, CE, and FDA certifications. We have been the OEM for Topcon for 3 years. You get world-class quality with a personal touch. That is the Hongdee promise.
Conclusion
Blurry fundus images are a solvable problem. Start with the pupil and the lens. Use the focus aids. If the technology is holding you back, consider a Hongdee upgrade. We are here to support your clinic with the best equipment and the most dedicated service in the industry.